
I created a custom agent in Copilot Studio, called Do-It-Yourself Agent, to answer questions related to DIY projects, like:
- I’ve never done any DIY before. Can you suggest an easy project to start with and what tools I’ll need?
- How do I install a floating shelf on drywall without damaging the wall?
- I want to repaint my living room on a tight budget. Can you give me tips for saving money on paint and supplies?
Download the solution at https://mattruma.com/wp-content/uploads/2025/10/DoItYourselfAgentSolution_1_0_0_1.zip. ⬇️
One thing I wanted to do with this agent was whenever a generative answer was provided, I wanted to capture the following in a Dataverse table:
- the CSAT score,
- the original question and response,
- and any feedback on the accuracy and satisfaction of the provided response.
Agent Configuration
I add two knowledge sources, one for Home Depot at https://www.homedepot.com and another for Do-It-Yourself at https://www.doityourself.com. 🧠
I added the instructions:
I left Use generative AI to determine how best to respond to user and events as Enabled. ✅
AI Response Generated Topic
How could I do this? 🤔
How could I know when a generative answer was provided by the agent?
Thankfully, there is a Topic trigger called AI response generated, figured I would start there. 💡
I created a custom Topic and set the Name to AI Response Generated.
I set the Trigger to AI response generated.

I added a Set variable value node to capture the question that triggered the response. 🎬
I set To value to LastMessage.Text.
I set Usage to Global so the End of Conversation node would have access to the value of the variable.

I added a Message node with the body of the message just being the output of the System variable, System.Response.Formatted. 🎬

I added another Set variable value node to capture the generated response, System.Response.Formatted. 🎬

Before I redirect to the End of Conversation topic I want to let the agent know that I handled the output. If I don’t do this, it will output the response twice.
I added another Set variable value node and set Set variable to System.ContinueResponse and To value to false. 🎬
Lastly, I added a Topic node to redirect to the End of Conversation topic. 🎬

Before I customized the End of Conversation topic, I created:
- a Dataverse table, called Do-It-Your Conversation to capture the response from the user,
- and an Agent Flow, called Do-It-Yourself Conversation Add (Instant), to populate the table.
Do-It-Yourself Conversation Dataverse Table

Do-It-Yourself Conversation Add (Instant) Agent Flow

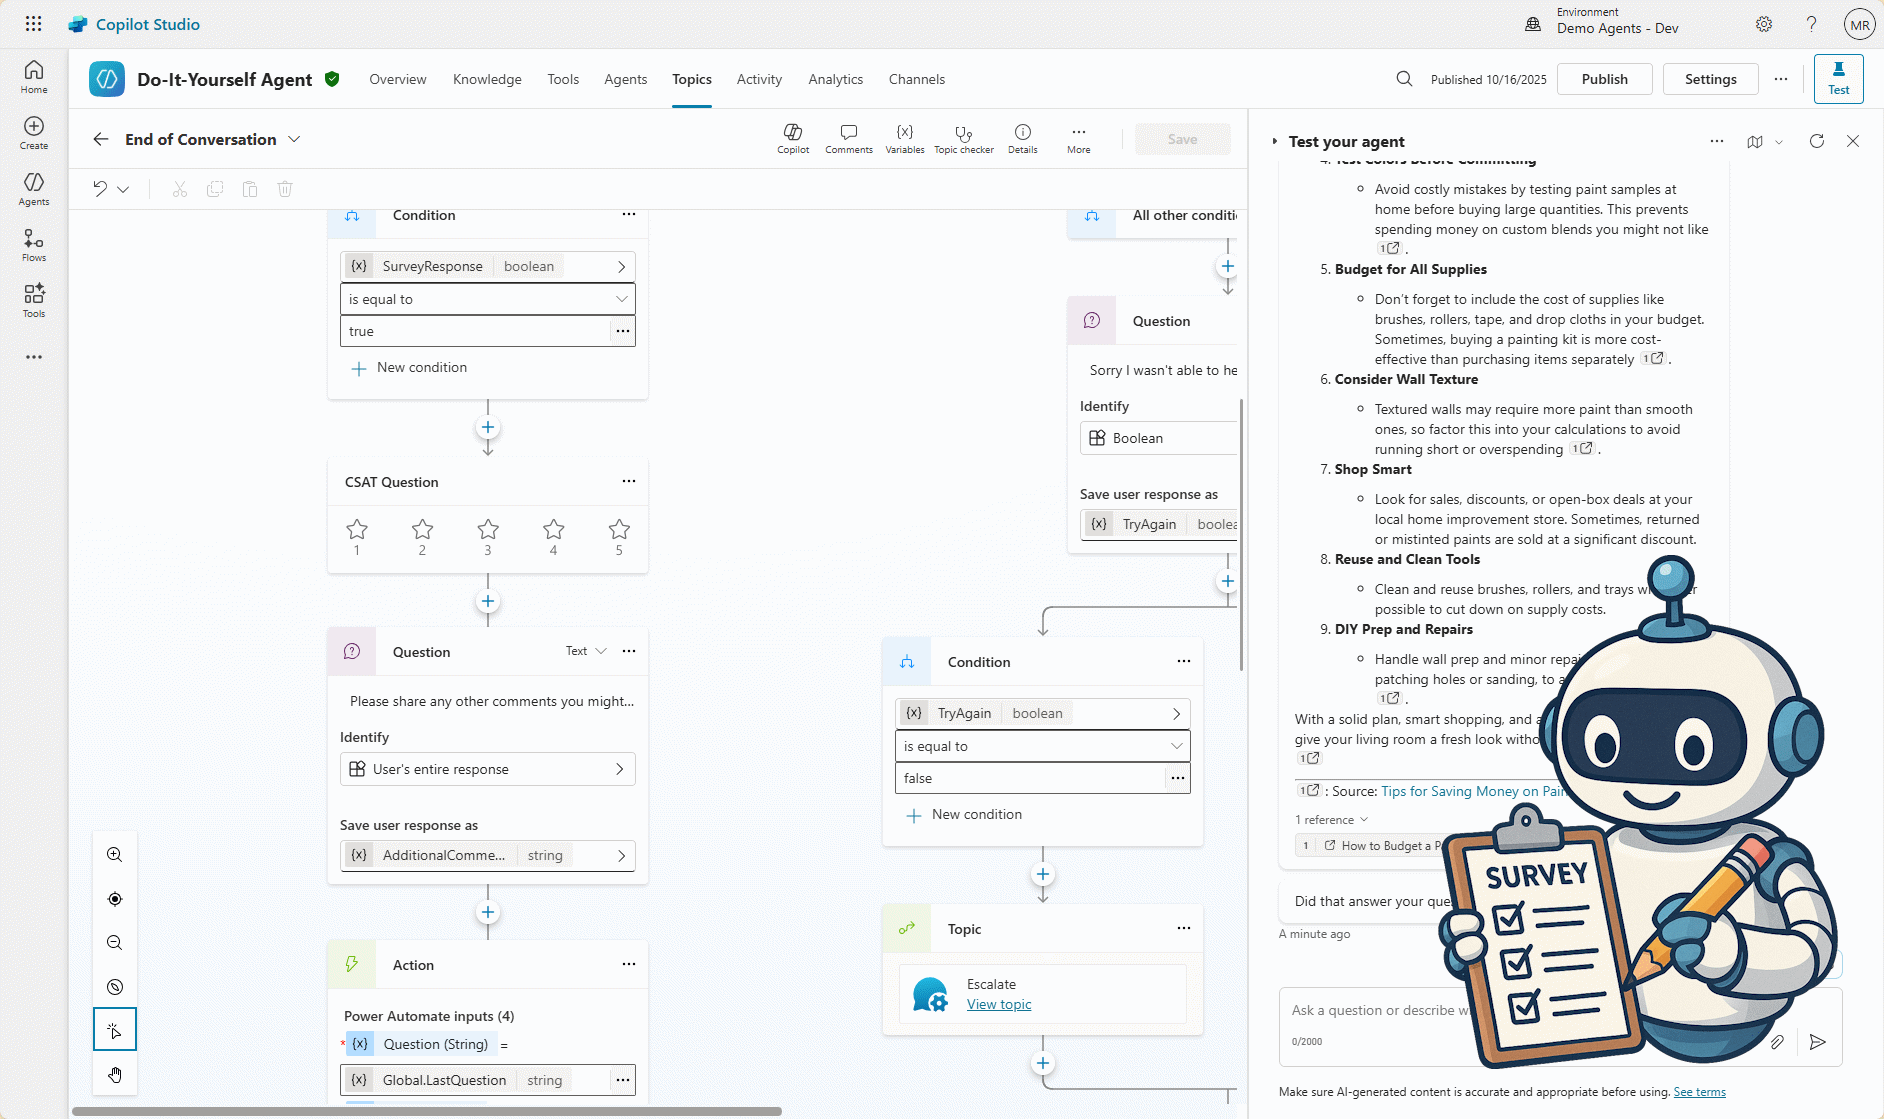
End of Conversation Topic
I added a Question node after the CSAT Question node with the message of Please share any other comments you might have that would make the experience even better.🎬
I set Identify to User's entire response.
I set Save user response as to AdditionalComments.

In order to get the results of the CSAT Question node, I have to assign it to variable, which can only be done in the code editor.
To do this I clicked More and then Open code editor.
I added variable: Topic.CSATResult after the conversationOutcome parameter

I added an Action to call the Do-It-Yourself Conversation Add (Instant) Agent Flow.🎬
The Agent Flow takes four inputs, which I populate with the values of the available variables.
- Set Question to
Global.LastQuestion - Set Answer to
Global.LastAnswer - Set Rating to
Topic.CSATResult - Set AddtionalComments to
Topic.AdditionalComments

Test the Agent
Time to test the agent. 💬
I asked the question I’ve never done any DIY before. Can you suggest an easy project to start with and what tools I’ll need?.

I provided some feedback.

I did create a Model-driven application to view the results.📅

So, there you go!👏
An example of a simple way to capture more feedback on your generative responses.
Download the solution at https://mattruma.com/wp-content/uploads/2025/10/DoItYourselfAgentSolution_1_0_0_1.zip.⬇️
As always, feedback is welcome!🙏
Discover more from Matt Ruma
Subscribe to get the latest posts sent to your email.