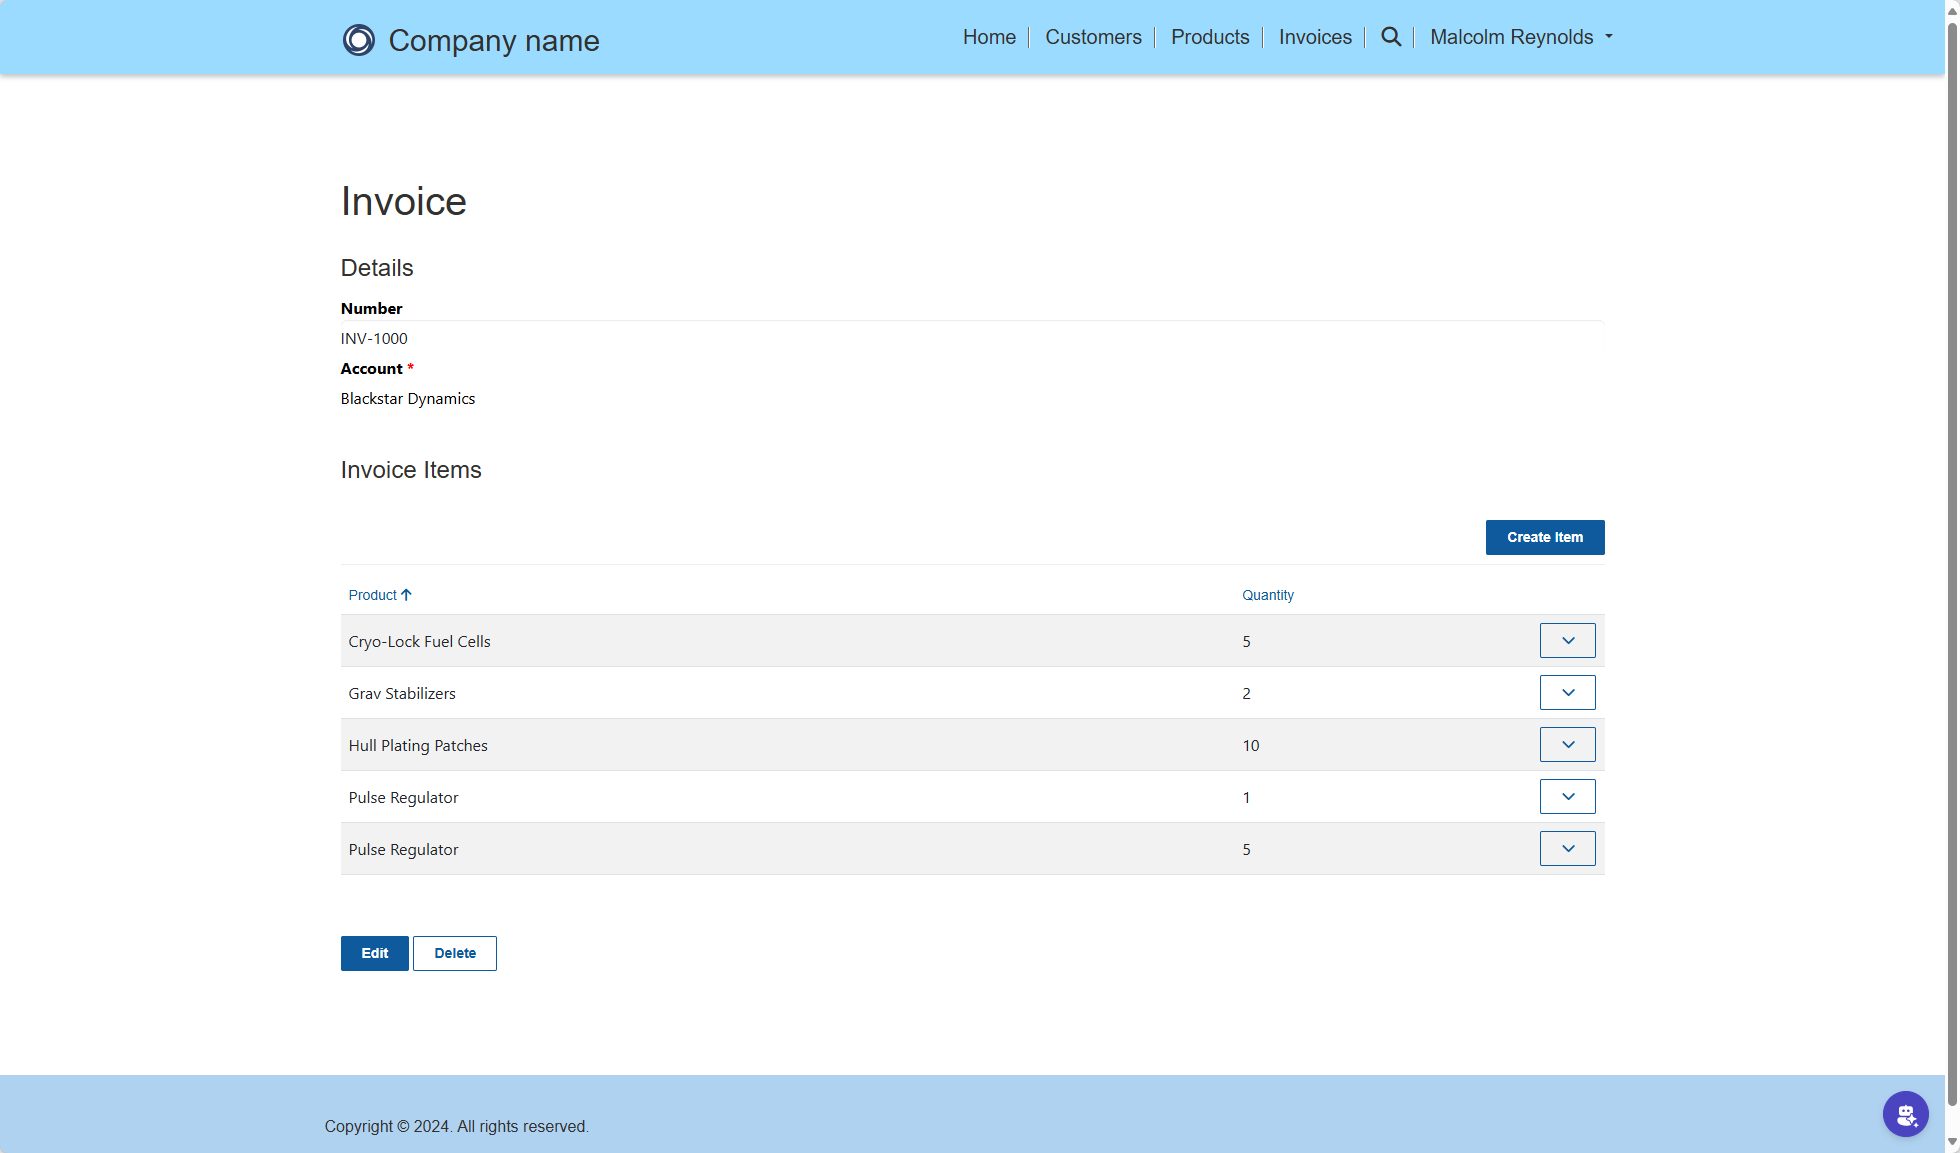
I wanted to create a Power Pages site to manage invoices.
I created three Dataverse tables for Product, Invoice and Invoice Item. ⚒️
- Invoice table had a relationship to the Account table.
- Invoice Item table had a relationship to both the Invoice and Product table.
I created the Power Pages site, with several pages.
- Customers – Displays a list of customers.
- Products – Displays a list of products.
- Invoices – Displays a list of invoices.
- Invoice – Displays a single invoice.
- Invoice Create – Creates a new invoice.
- Invoice Item Create – Creates a new invoice item for an existing invoice.
- Invoice Item Edit – Edits an existing invoice item.

I added my Lists and Basic Forms to the appropriate pages and added Table permissions. 🔒

I created an Invoice form that displays the Invoice details and the associated Invoice Items in a subgrid component, which I named InvoiceItems.

To get my Invoice Items sub grid to allow for create, update, delete and other features I followed the instructions at https://learn.microsoft.com/en-us/power-pages/configure/configure-basic-form-subgrid.
In Grid Configuration for the Basic Form Metadata for the Invoice form I added an Action for Create and Edit.

Back in Power Pages Studio, I added an Invoice Item Create form and an Invoice Item Edit form.

For both forms I set the Invoice field to read-only, I want that be determined by the Invoice.
Time to test things out! 🎰
I created an Invoice and then proceeded to create an Invoice Item. ⚒️
When the Invoice Item Create form displayed, the Invoice field was empty, to my total surprise 😮, well maybe not to my “total” surprise, but I did think some magic 🪄 would happen, which never happened.

After some digging 🏴☠️ around, I discovered I would have to set the fields manually using some JavaScript. 👨💻
The id field would be easy, that was in the URL, but for the name of the Invoice, I was going to have to get that by making a call using the Pages Web API.
I added three Site Settings to my Site to make the Invoice table usable with the Pages Web API.
- Webapi/contoso_invoice/enabled with a value of
true - Webapi/contoso_invoice/fields with a value of
contoso_id,contoso_name - Webapi/error/innererror with a value of
true

I opened the Site in Visual Studio Code and added some JavaScript to the Invoice Item Create.en-US.customjs.js file.
I did have to take a peek at the DOM to determine what fields I needed to set, it was #contoso_invoice for the unique identifier of the Invoice and #contoso_invoice_name for the name of the Invoice.
Now when I went and created my Invoice Item, the Invoice field displayed the invoice number, and the unique identifier was saved in the Invoice Item table when I clicked Save Changes.

Not as easy as I would have liked it to be, but it works. 🙃
Download the entire solution at https://mattruma.com/wp-content/uploads/2024/12/ContosoInvoiceSolution_1_0_0_1.zip. 🗃️
References links
- https://learn.microsoft.com/en-us/power-pages/configure/configure-basic-form-subgrid
- https://learn.microsoft.com/en-us/power-pages/configure/configure-basic-form-metadata
- https://learn.microsoft.com/en-us/power-pages/configure/webapi-how-to
- https://learn.microsoft.com/en-us/power-pages/configure/web-api-http-requests-handle-errors
Discover more from Matt Ruma
Subscribe to get the latest posts sent to your email.

